A listing with poor photos sits unseen. A listing with great photos gets enquiries within hours. Photography is the single highest-impact thing most private sellers can improve — and you don't need specialist equipment to do it well.
Before You Start: Preparation
The most important step happens before you pick up your phone or camera.
Clean the car properly:
- Wash and dry the exterior, including wheels and tyres
- Clean the interior — vacuum seats and floors, wipe the dashboard and door cards
- Clean the windows inside and out (smears show badly in photos)
- Remove all personal items: parking permits, bags, charging cables, air fresheners
Choose a good location:
- Neutral background — an empty car park, a quiet street with plain walls, a field entrance
- Avoid cluttered driveways with bins, other cars, or distractions in the background
- Keep the car in the background-appropriate context — not squeezed between two other cars
Timing:
- Shoot in overcast daylight, not direct bright sun. Bright sun creates harsh shadows in door shuts and overexposes metallic paint
- The "golden hour" (shortly after sunrise or before sunset) produces warm, flattering light
- Avoid shooting in rain unless the car genuinely looks good wet (rarely the case for everyday cars)
The Essential Shots
Every listing needs a minimum of 10–15 photos. Here's the set:
Exterior Angles
| Shot | What to Capture |
|---|---|
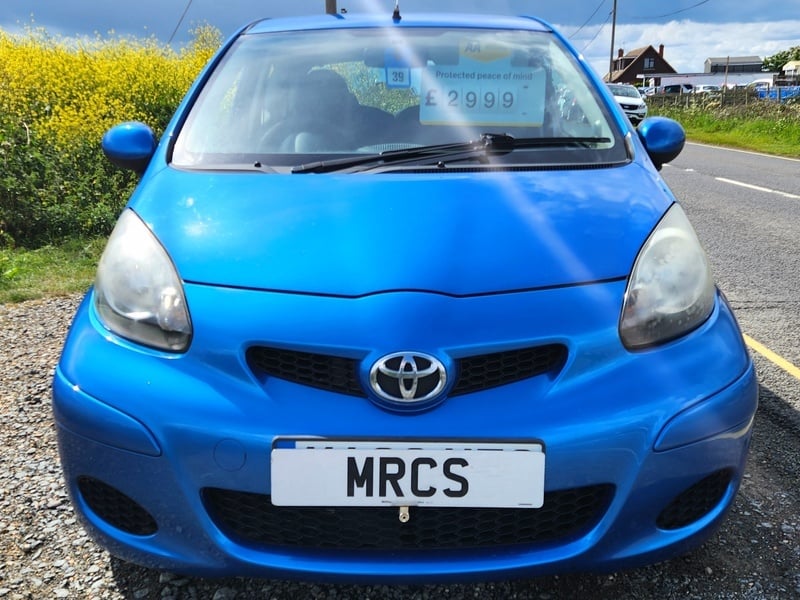
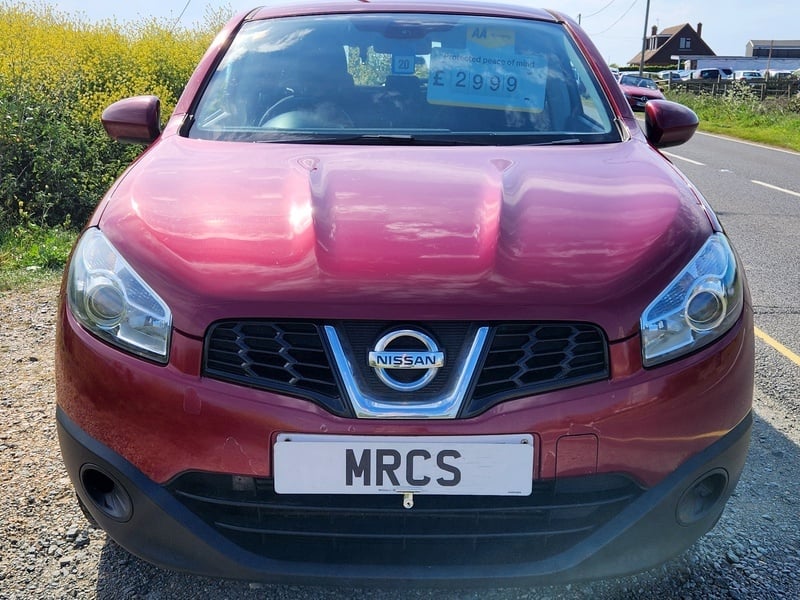
| 3/4 front | Stand at the front corner — this is your "hero" shot and should be the listing cover image |
| 3/4 rear | Mirror the front shot from the opposite rear corner |
| Side profile | Stand level, shoot the full length from the side — shows the roofline and proportions |
| Front straight-on | Shows the grille, badge, and headlight condition |
| Rear straight-on | Shows the bumper, lights, and boot |
| Each wheel | Tyre tread and alloy/wheel condition — buyers look at these closely |
Detail Shots
| Shot | Why It Matters |
|---|---|
| Any damage, every dent and scuff | Honesty builds trust and prevents post-sale disputes |
| Engine bay | Shows you're not hiding anything; check fluid levels before shooting |
| Boot/load area | With the boot open, showing the space and condition |
| Dashboard and instruments | Mileage on display, any warning lights (there should be none) |
Interior Shots
- Front seats — both driver's and passenger's side
- Rear seats
- Infotainment system / centre console
- Headlining condition (relevant for older cars where this deteriorates)
Photography Tips
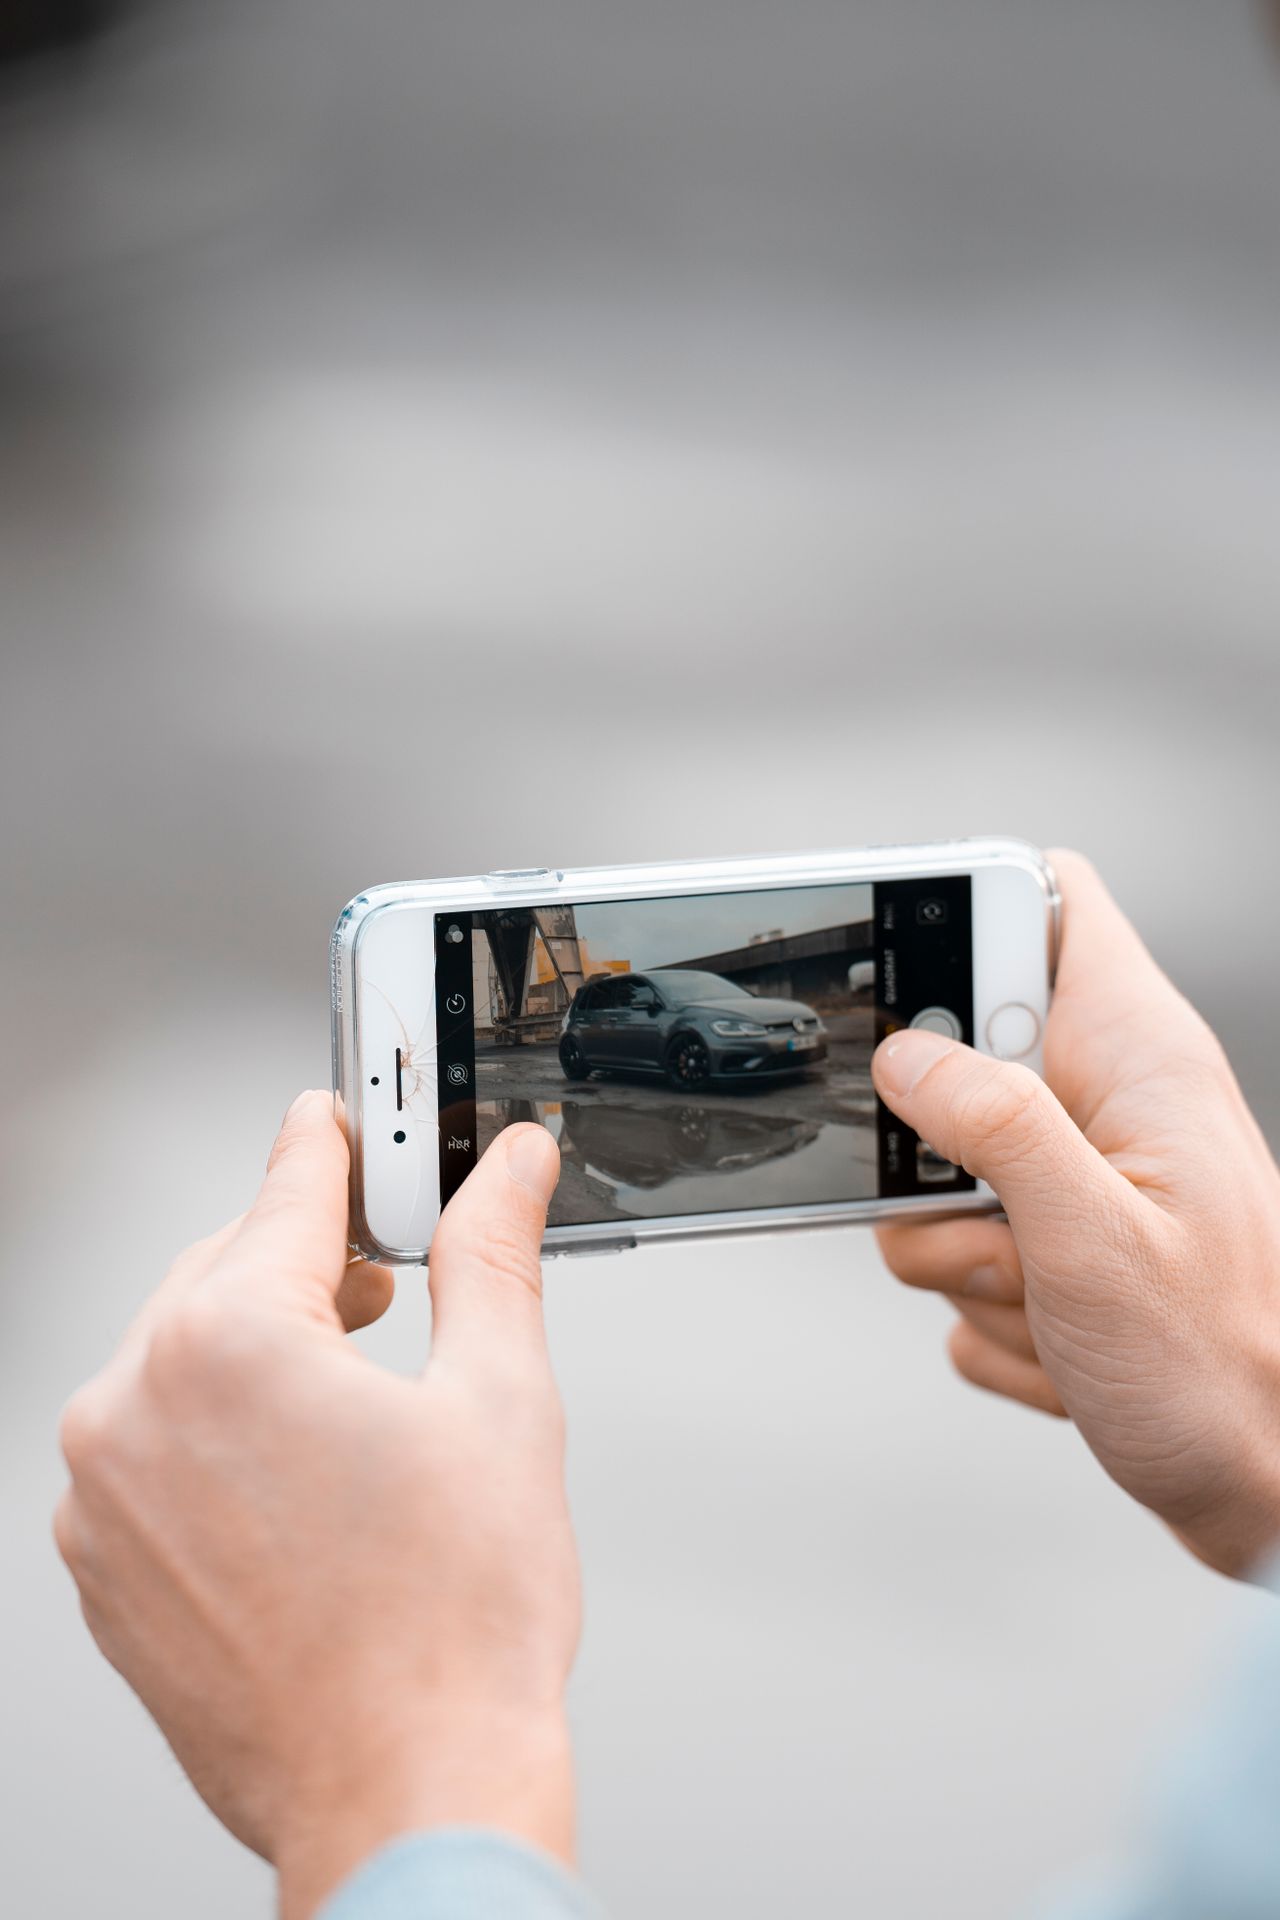
Use Your Phone, Not a Camera
Modern smartphones (2020 and later) produce excellent photos for car listings. The wide-angle lens on most recent phones is ideal.
Avoid portrait mode/bokeh for exterior shots — it blurs the background artificially and makes the car look staged. Use standard photo mode for clean, natural results.
Get Low
Shooting from waist height makes cars look generic. Crouch down until the camera is at the height of the door handle — or even lower for the 3/4 exterior shots. This angle makes the car look larger, more dynamic, and more premium.
Shoot Wide
Don't crop the car. Leave a small margin around all four edges of the frame so the full vehicle is visible.
Watch What's Behind You
Before shooting, look at the viewfinder and check:
- No bins or wheelie bins visible in the background
- No other cars cropping into the frame
- No distracting signs or people
- No power cables if shooting in a car park
Common Mistakes
| Mistake | Impact |
|---|---|
| Shooting at night or in artificial light | Makes the colour look wrong; buyers can't assess bodywork |
| Dirty car | Visible grime in photos signals a neglected car overall |
| Interior photos from outside the car | Dark, uninformative — get inside for interior shots |
| Missing the damage shots | Buyers assume you're hiding worse. Show every flaw |
| Watermark on images | Buyers find this off-putting and suggests you don't trust them |
| Selfie in window reflection | Annoying and unprofessional — check every window before shooting |
Editing
Basic editing is fine — no specialist software needed:
- Brightness/contrast: Adjust if the image is underexposed (common in overcast UK light)
- Crop: Remove distracting edge elements, but don't crop the car itself
- Don't use filters: Warm or cool colour filters misrepresent the car's actual colour
Google Photos, Apple Photos, and Lightroom Mobile all have adequate editing tools on a phone.
How Many Photos?
| Minimum | Target | Maximum |
|---|---|---|
| 8 | 15–20 | 30 |
More is generally better. Buyers who can see every angle are more confident — and more likely to enquire without first asking for "more photos."
Frequently Asked Questions
What is the most important photo in a car listing? The 3/4 front shot — taken from the front corner of the car, crouching to door-handle height. This is your hero image: the one that appears on the listing card and the first image buyers see. It should be taken in good light (overcast daylight is ideal), on a neutral background, with the full car visible and a small margin around all four edges. A strong hero shot is the single biggest factor in whether a buyer clicks through to your listing or keeps scrolling.
Should I use portrait mode (bokeh) for exterior shots? No. Portrait mode blurs the background artificially, which makes the car look staged and obscures detail that buyers want to see — bodywork condition, the environment around the car, context. Use standard photo mode for all exterior shots. The wide-angle lens on most smartphones since 2020 is well suited to car photography and produces clean, natural results without artificial processing.
How many photos should a car listing have? Target 15–20 photos as a standard listing. A minimum of 8 is needed for a listing to feel complete; 30 is a reasonable maximum beyond which you're probably duplicating shots. Buyers who can see every angle, every piece of damage, and every detail of the interior are more confident and more likely to enquire without calling to ask for more photos — which saves you time at the viewing stage too.
Should I photograph every dent and scratch? Yes, without exception. Photographing every flaw builds trust with buyers and prevents disputes at the viewing stage. A buyer who arrives and finds damage that wasn't in the listing feels misled — even if it's minor. A buyer who saw the damage in photos and came anyway is a motivated buyer. List every scratch, scuff, chip, and worn surface honestly; include a photo of each. This also protects you: if a buyer later claims damage existed when they took the car, your listing photos are the record.
What is the best time of day to photograph a car? Overcast daylight gives the most flattering and accurate results for almost all car colours. Overcast light is diffuse — it eliminates harsh shadows in door shuts and wheel arches, and doesn't overexpose metallic or light-coloured paint. The "golden hour" (shortly after sunrise or before sunset) produces warm, attractive light and works well if you have time. Avoid bright midday sun (harsh shadows and overexposure), artificial light indoors or in a garage (colour distortion), and rain.
List your car on WightWheels →
Related: How to write a listing · Selling your car on IoW · DVLA paperwork guide